
Underground Survival Shelters have seen a surge in interest lately. But pouring concrete or digging by hand isn’t very feasible for most of us. That’s where Old Shipping Container come in.
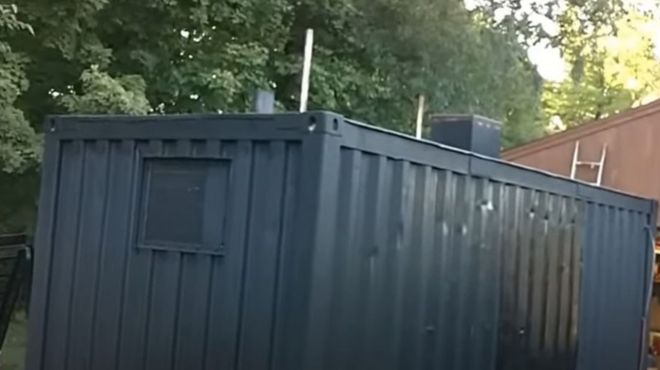
These steel boxes are the perfect building blocks for DIY underground shelters. Plenty of containers get abandoned after one voyage, making them widely available at reasonable prices. With the right design and burial, you can create a secure place to ride out disasters and you can also use it as a storage or garage.
In this guide, I’ll walk through the key steps for how to convert a standard shipping container into an awesome underground bunker. You don’t need crazy construction skills, just dedication and a passion for post-apocalyptic survival. We’ll cover choosing the right container, preparing the site, waterproofing, burying and more.
Selecting the Right Shipping Container
The first step is finding a worthy container to start your underground conversion. You’ll want to inspect any potential container thoroughly before purchase. Keep an eye out for the following:
- Rust and Corrosion – Avoid old, weathered containers with heavy rust or holes. Look for intact, uniform paint. Knock on walls to check thickness.
- Structural Damage – Dents, cracks, and warped sides or roof indicate damage. Check corners and doors carefully for bends.
- Leaks – Climb inside and look for sunlight poking through. Watch for drips after rain. Run a hose test if uncertain.
- Security – Locks, doors, and sides should be solid and secure. Reject containers that look compromised.
- Size – For shelter purposes, the standard 20 ft x 8 ft container is best. It provides about 160 sq ft of space and is easy to bury at around 8.5 ft high.
The ideal container is newer, structurally sound and thoroughly weatherproof. Minor surface rust is ok but walk away from anything heavily corroded. Take time inspecting – you want a container that can securely entomb you underground!
Site Preparation and Foundation
You’ve got your ideal steel box, now it’s time to prep the site for installation. Safety first!
To make the container habitable underground, you’ll need to flip it over so the floor becomes the ceiling. This requires temporarily inverting the container above ground first.
Start by clearing and leveling the site. Make sure the ground is stable and has proper drainage.
For the foundation, dig trenches aligned with the four corners of the container. Add compacted gravel and rebar to reinforce.
When ready, use a crane or hydraulic jacks to carefully flip the container upside down. Temporarily support it on blocks or tires while you work.
This prep allows you to reinforce the ceiling and add entry points easily before burying it right-side up. Working on your back is no fun!
Take time to create a solid foundation. This will prevent the container from settling or shifting underground.
With the container inverted safely, the real transformation begins…more on that next!
Reinforcing the Container Structure
Now for the fun part – transforming the bare container into a secure underground bunker.
With the container inverted, you’ll want to reinforce the structure from the inside out. This prevents collapse when buried.
Some key steps:
- Add internal support beams to the walls and ceilings. Weld steel posts into all 4 corners for extra strength.
- Install steel plates every 2 ft across the walls and ceiling. This “skeleton” prevents buckling or caving in.
- Weld rebar grids inside to distribute weight and absorb shocks. Crisscross rebar 2 ft apart.
- Cut openings for hatches and entry doors. Outline with steel frame for support.
- Install a escape hatch lid and emergency door. Hatch should have easy, quick access.
Take time reinforcing all surfaces. The container will handle immense pressure when submerged underground.
Take precautions while welding and cutting steel. Have proper ventilation and wear safety gear.
The end goal is a reinforced cocoon built to withstand what may come. Your cozy, protective underground habitat awaits!
Waterproofing and Rustproofing
Before heading underground, it’s vital to make sure your container bunker is fully waterproofed. Moisture is a stealthy enemy that can undermine your shelter.
Here are tips to ward off leaks:
- Seal all joints and seams with waterproof caulk inside and out. Go over them twice to ensure no gaps.
- Cover the exterior with layers of waterproof paint or sealant. Use an epoxy-based coating designed for metal.
- Paint the interior with water-resistant enamel paint. Opt for light colors to maximize brightness.
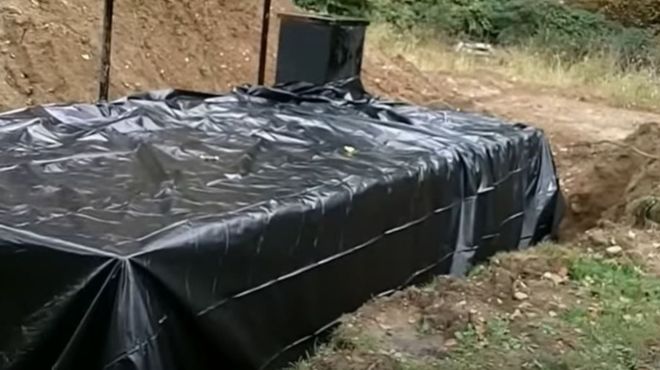
- Coat the ceiling/top with heavy tar, then layer with thick plastic sealant. This provides added barrier against rain and moisture.
- Attach waterproof stripping around all hatches and the door to prevent seepage. Compress strips for tight fit.
- Test for leaks using a hose sprayed from all angles before burying. Mark any drips and re-seal.
Take time making your bunker 100% water-tight. Underground pressure and moisture can exploit the smallest gaps given time. But with diligent prep, your shelter will stay dry as a bone!
Burying the Shelter
The final step is burying your reinforced container to achieve an underground bunker.
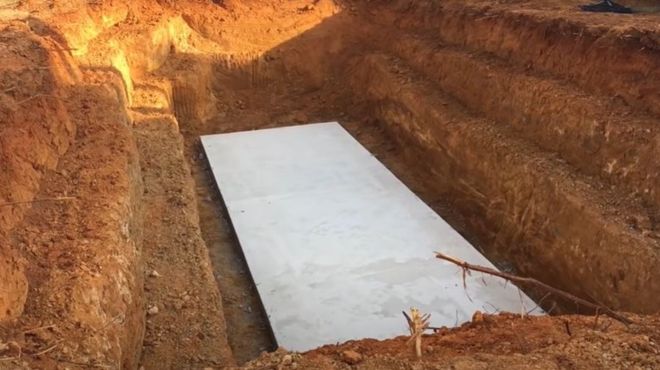
Start by digging a hole at least 8.5 ft deep using an excavator or backhoe. Clear an area 3 ft wider than the container on all sides.
Carefully use a crane to lower the container right-side up into the hole. Center it evenly and make sure the ceiling hatch aligns with the surface.
Backfill the hole with 1 ft of gravel for drainage, then pile soil around and on top of the container. Pack tightly to maximize stability.
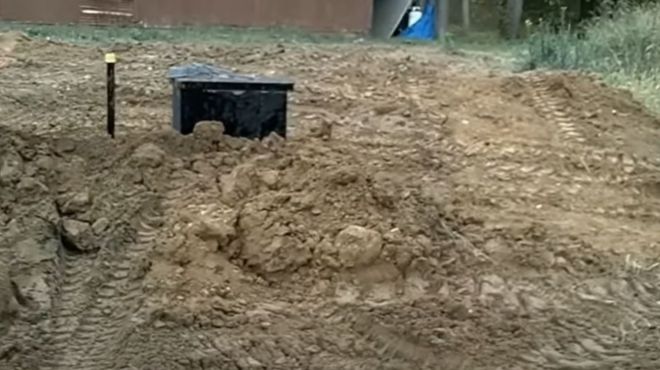
Mound remaining soil around the top emerging hatch to improve water runoff. Plant native ground cover above to camouflage.
Bury electrical and plumbing lines from the shelter in conduit pipes surrounded by gravel. Mark access points.
With the container fully submerged, the hard work is done! You now have an underground bunker impervious to disasters on the surface.
The final touches involve outfitting your shelter’s interior. More on that in the next section…
The Pros and Cons
Converting a shipping container into an underground bunker has both advantages and challenges:
Pros:
- Affordable compared to building a bunker or pouring concrete
- Durable and resilient steel construction
- Weatherproof and stable underground
- Provides security and protection in emergencies
Cons:
- Permitting can be tricky for permanent structures
- Risk of collapse without proper reinforcement
- Access and ventilation considerations
- Ongoing maintenance to prevent moisture damage
Staying Safe in Your Shelter
If designed and constructed properly, an underground shipping container bunker can be a very effective emergency shelter. Here are some key tips:
- Inspect and test the container thoroughly before purchase
- Reinforce all walls, ceiling, doors, and hatches
- Waterproof 100% with redundant sealing methods
- Dig deep hole with proper drainage and support
- Camouflage and fortify entry points against intruders
- Stock provisions, water, power, sanitation, and air filtration
By following the steps outlined in this guide, you can create a secure, protective habitat to ride out any doomsday scenario in comfort. Just don’t forget to invite me once it’s completed!
Wishing you the best in your underground bunker journey. Stay safe out there!


